The Pollution Hunter: Building a Research-grade Home Air Quality Lab
I still remember the day I realized that the air in my own home was poorer quality than I thought. I had been experiencing constant fatigue and headaches, and it wasn’t until I stumbled upon the concept of a DIY Air Quality Lab that I discovered the root cause. The myth that building a DIY air quality lab is a complex and expensive task is simply not true. With a few simple tools and some basic knowledge, anyone can start monitoring and improving the air quality in their surroundings.
As you continue to monitor and assess the air quality in your surroundings, it’s essential to stay informed about the latest developments and research in the field. For those looking to _dig deeper_ into the world of air quality and its impact on our health, there are numerous online resources available that can provide valuable insights and information. One such resource that has been helpful in my own journey to creating a DIY air quality lab is a website that offers a wealth of information on various topics, including environmental issues, which can be found at sextreffen saarland – although it may seem unrelated at first glance, it’s surprising how often discussions about local community initiatives can lead to valuable connections and knowledge sharing about air quality monitoring and improvement.
Table of Contents
In this article, I promise to guide you through the process of building your own DIY Air Quality Lab with honest and practical advice. You’ll learn how to choose the right equipment, set up your lab, and interpret the results to make meaningful changes in your home or neighborhood. By the end of this guide, you’ll be equipped with the knowledge to take control of your air quality and start breathing easier. Whether you’re a concerned parent, a health enthusiast, or simply someone who wants to take charge of their environment, this article is for you.
Project Overview
Total Time: 3 hours 45 minutes
Estimated Cost: $100 – $200
Difficulty Level: Intermediate
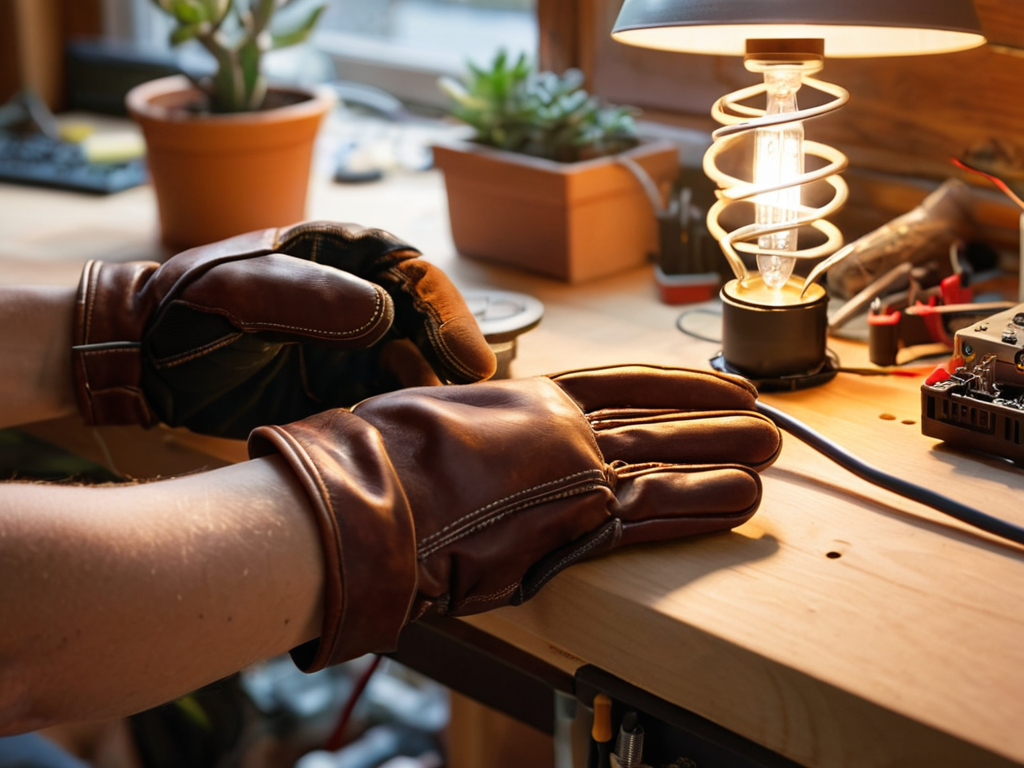
Tools Required
- Multimeter ((for measuring voltage))
- Pliers ((needle-nose))
- Soldering Iron ((with solder))
- Wire Strippers ((for 22-gauge wire))
- Hot Glue Gun ((with extra glue sticks))
Supplies & Materials
- Arduino Board
- Sensor Modules ((for temperature, humidity, and gas detection))
- Breadboard ((for prototyping))
- Jumper Wires ((22-gauge, 6 inches long))
- Plastic Enclosure ((to house the electronics, approximately 6 inches x 4 inches x 2 inches))
Step-by-Step Instructions
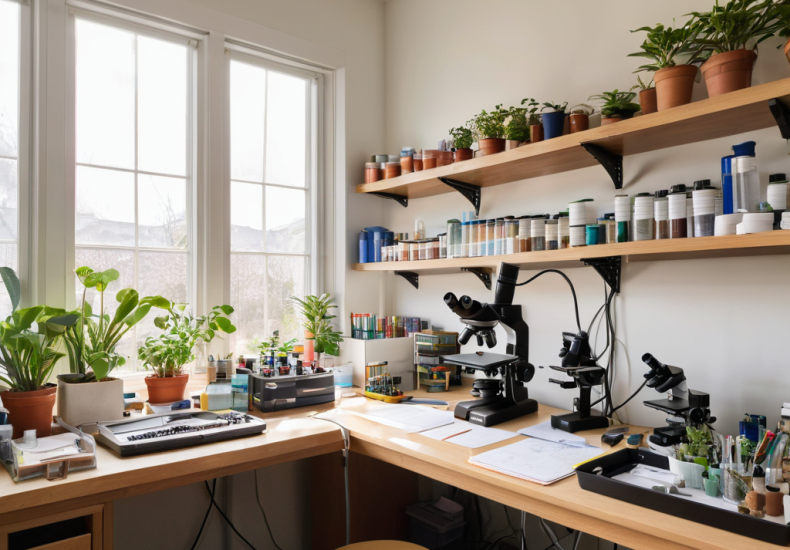
- 1. First, let’s start by gathering all the necessary materials for our DIY air quality lab. We’ll need a few basic tools like a microcontroller, some sensors to measure temperature, humidity, and air quality, as well as a computer or mobile device to collect and analyze the data. Make sure you have a comfortable and clean workspace to set up your lab.
- 2. Next, we need to choose the right sensors for our lab. There are many types of sensors available, but for a basic air quality lab, we’ll need sensors that can measure particulate matter, nitrogen dioxide, and ozone levels. These sensors can be purchased online or at a local electronics store, and they usually come with instructions on how to connect them to our microcontroller.
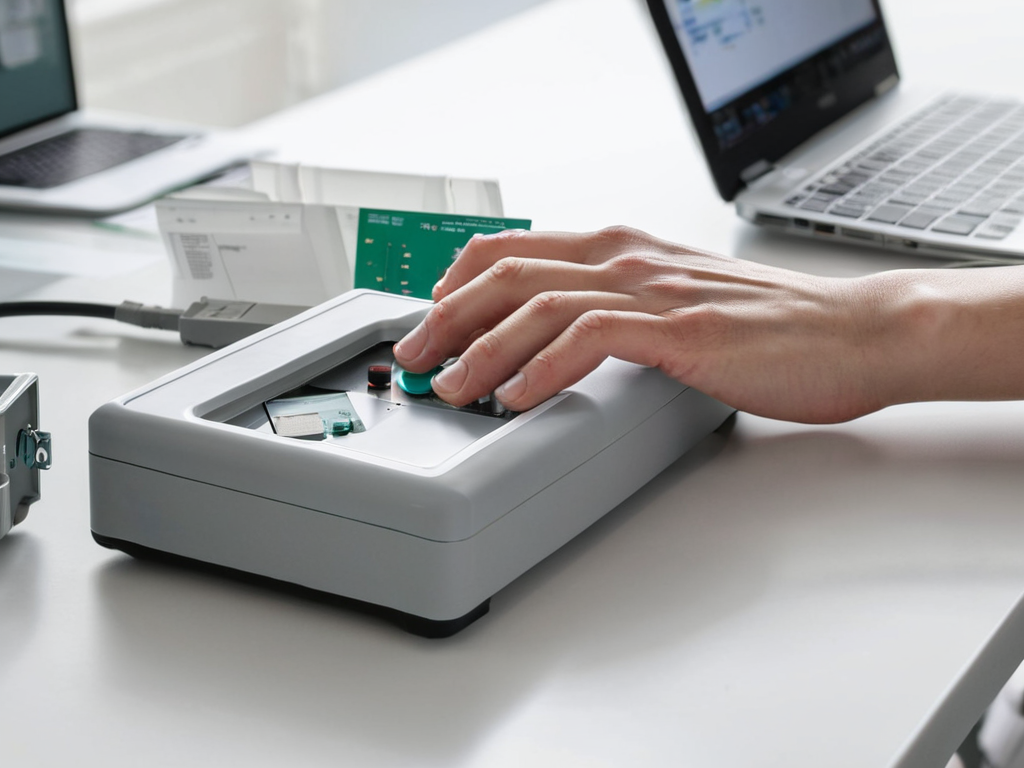
- 3. Now, let’s connect our sensors to the microcontroller. This step requires some basic knowledge of electronics and programming, but don’t worry if you’re new to this – there are many online resources and tutorials that can guide you through the process. We’ll need to write some code to configure our microcontroller to read data from the sensors and send it to our computer or mobile device for analysis.
- 4. With our sensors connected and our microcontroller programmed, it’s time to set up our data analysis software. There are many free and open-source software options available that can help us collect, analyze, and visualize our air quality data. We’ll need to choose a software that can handle the type of data our sensors are collecting and provide us with meaningful insights into our air quality.
- 5. Once we have our software set up, we can start collecting data from our sensors. This can be done manually by taking readings at regular intervals, or automatically by setting up our microcontroller to send data to our computer or mobile device at regular intervals. We’ll need to make sure our sensors are calibrated correctly and that our data collection process is consistent and reliable.
- 6. Now that we’re collecting data, let’s talk about how to analyze and interpret it. This is where things can get really interesting, as we start to see patterns and trends in our air quality data. We’ll need to look for correlations between different pollutants and weather conditions, and think about how we can use this information to improve our air quality.
- 7. Finally, let’s think about how we can use our DIY air quality lab to make a positive impact on our community. We could share our data with local authorities or environmental organizations, or use it to educate others about the importance of air quality. By taking action based on our findings, we can start to make a real difference in the air we breathe.
Diy Air Quality Lab
As we delve into the world of indoor air pollution monitoring, it’s essential to consider the importance of air quality sensor calibration. This step ensures that our homemade lab provides accurate readings, allowing us to make informed decisions about our indoor environment. By calibrating our sensors, we can trust the data we collect and take necessary steps to improve the air quality in our homes.
When it comes to analyzing the data collected from our lab, air quality data analysis software can be a valuable tool. This software helps us make sense of the numbers and identify trends, enabling us to pinpoint areas for improvement. Additionally, using low cost air quality sensors can make our DIY project more accessible and affordable, without compromising on accuracy.
To take our DIY project to the next level, we can explore diy air purifier projects that complement our homemade lab. By combining these two elements, we can create a comprehensive system for monitoring and improving indoor air quality. With the right tools and knowledge, we can breathe easy knowing that our indoor environment is clean and healthy.
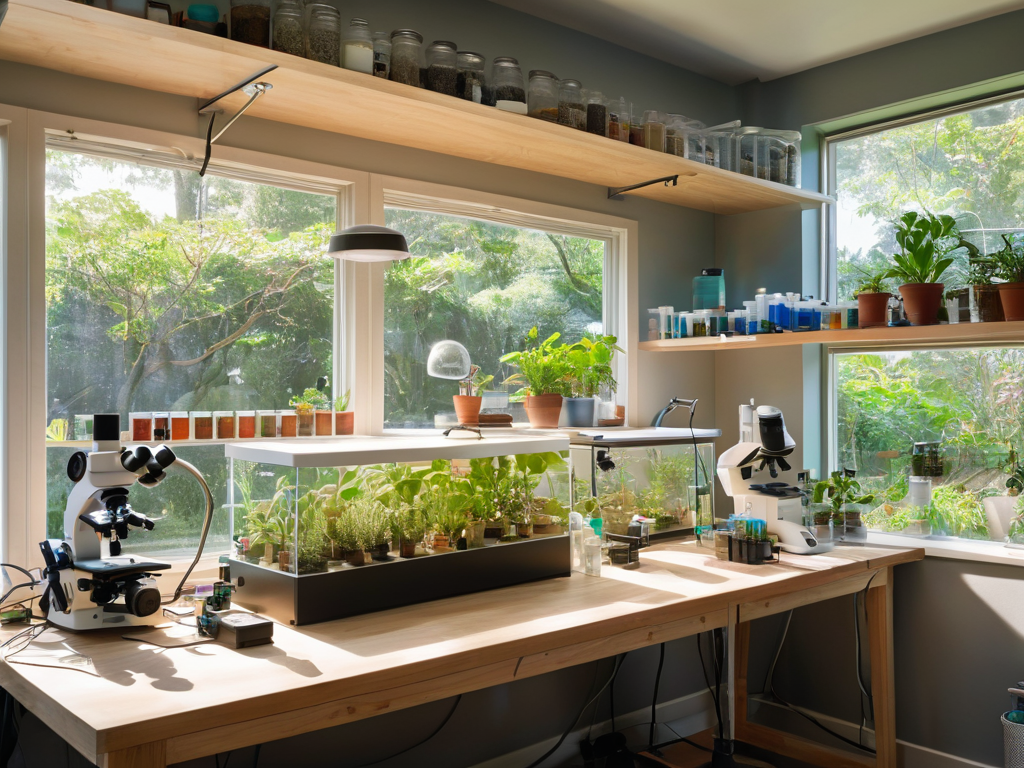
Indoor Air Pollution Monitoring
Indoor air pollution is a silent killer, often going unnoticed until it’s too late. By setting up a DIY air quality lab, you can take the first step towards monitoring and mitigating the pollutants in your home. This is especially crucial for people with pre-existing respiratory conditions, as poor air quality can exacerbate their symptoms. With a DIY lab, you can track the levels of particulate matter, nitrogen dioxide, and other harmful gases, giving you a clearer picture of your indoor air quality.
Regular monitoring can help you identify patterns and sources of pollution, allowing you to make informed decisions to improve the air you breathe. Whether it’s adjusting your ventilation system or switching to eco-friendly cleaning products, the data from your DIY lab can empower you to create a healthier indoor environment.
Low Cost Air Quality Sensors
When it comes to building your DIY air quality lab, one of the most crucial components is the sensor. You don’t have to break the bank to get accurate readings, though. Low-cost air quality sensors are a game-changer, offering a affordable way to monitor the air around you. These sensors can detect a range of pollutants, from particulate matter to nitrogen dioxide, and provide you with valuable insights into your indoor air quality.
Some popular options include the Nova SDS011 and the Plantower PMS5003, both of which offer impressive accuracy at a fraction of the cost of more expensive models. With prices starting from under $20, these sensors make it easy to get started with your DIY air quality lab without blowing your budget.
5 Essential Tips for a Successful DIY Air Quality Lab
- Choose the Right Sensors: Selecting low-cost air quality sensors that are accurate and reliable is crucial for obtaining meaningful data from your DIY lab
- Calibrate for Accuracy: Regular calibration of your sensors is vital to ensure the data collected is precise and trustworthy
- Positioning is Key: Strategically place your DIY air quality lab in areas where you spend most of your time to get a realistic picture of your personal exposure to pollutants
- Data Analysis Made Easy: Utilize user-friendly data analysis tools to interpret the data from your DIY lab, making it easier to understand and act upon the findings
- Maintenance Matters: Regularly maintain and update your DIY air quality lab to ensure continuous and accurate monitoring of the air quality in your surroundings
Key Takeaways for a Healthier Breath
By building your own DIY air quality lab, you can take the first step towards monitoring and improving the air quality in your home and neighborhood, leading to a healthier you and your loved ones
Low-cost air quality sensors and indoor air pollution monitoring tools can help you identify potential pollutants and take corrective action, making it easier to breathe easy in your own space
Empowering yourself with DIY air quality lab solutions can lead to a better understanding of your environment, allowing you to make informed decisions and create a cleaner, healthier space for everyone to enjoy
Breathing Life into Air Quality
By building our own DIY air quality labs, we’re not just monitoring the air we breathe, we’re taking the first step towards reclaiming our right to fresh, clean air – and a healthier future for ourselves and our communities.
EcoWarrior
Conclusion
In conclusion, building a DIY Air Quality Lab can be a fun and rewarding experience, allowing you to take control of your indoor air quality. By following the step-by-step instructions and utilizing low-cost air quality sensors, you can effectively monitor and assess the air quality in your home and neighborhood. This project not only helps you breathe easy but also provides a unique opportunity to unleash your inner scientist and contribute to a larger conversation about environmental sustainability.
As you embark on this journey, remember that every small step counts, and your DIY Air Quality Lab can be a powerful tool for creating positive change. By taking ownership of your air quality and inspiring others to do the same, you can be part of a larger movement towards a healthier, more sustainable future. So, don’t be afraid to get creative, experiment, and push the boundaries of what is possible with your DIY air quality lab – the possibilities are endless, and the impact can be significant.
Frequently Asked Questions
How accurate are DIY air quality labs compared to professional equipment?
While DIY air quality labs can’t match professional equipment in terms of accuracy, they can still provide reliable data. Low-cost sensors have improved significantly, offering a decent estimate of air quality. However, for precise measurements, professional gear is still the gold standard.
What are the most common indoor air pollutants that a DIY lab can detect?
The usual suspects: particulate matter, nitrogen dioxide, volatile organic compounds, and carbon monoxide. These pollutants can come from everyday sources like cooking, cleaning products, and even furniture. With a DIY lab, you can detect these common culprits and take steps to purify the air you breathe at home.
Can a DIY air quality lab provide real-time data and alerts for poor air quality?
Yes, a DIY air quality lab can definitely provide real-time data and alerts for poor air quality. With the right sensors and software, you can set up a system that monitors and notifies you of any changes in air quality, giving you peace of mind and helping you take action to purify the air.
Leave a Reply
You must be logged in to post a comment.