A Beginner’s Guide to Diy Bookbinding for a Personalized Journal
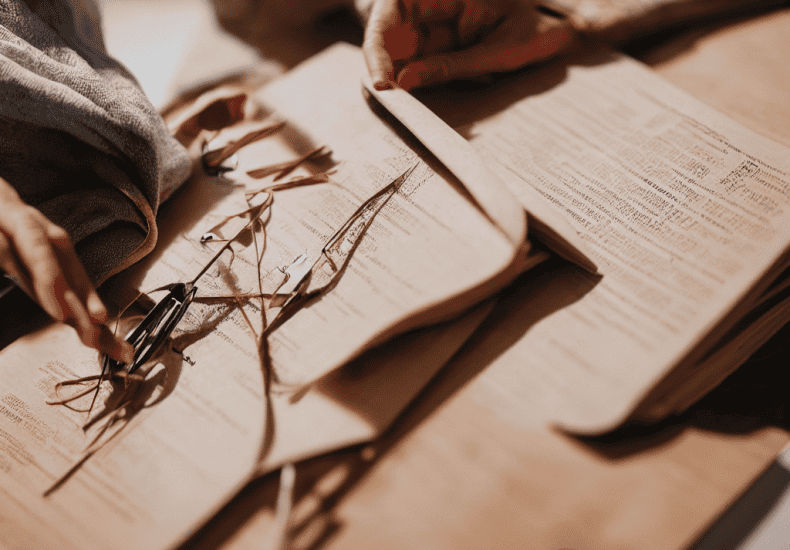
I still remember the day I stumbled upon a beautifully crafted, handmade journal in a quaint little bookstore. The owner told me it was made using a traditional bookbinding technique, and I was immediately captivated by the idea of creating something similar. As I delved deeper into the world of bookbinding, I realized that many people believed it to be a complicated and time-consuming process, which is why they often sought out a guide to bookbinding a simple journal. However, I discovered that with the right tools and a bit of patience, anyone can create their own unique journal.
In this article, I’ll walk you through the process of creating your own handmade journal, providing you with honest and practical advice on how to get started. You’ll learn about the necessary materials, the basic bookbinding stitches, and how to add your own personal touch to the journal. By the end of this step-by-step guide, you’ll be equipped with the knowledge and confidence to create your own beautifully crafted journal, making it a truly one-of-a-kind possession. Whether you’re a writer, artist, or simply someone who appreciates the beauty of handmade objects, this guide will help you unlock the joy of bookbinding and create something truly special.
Table of Contents
Guide Overview: What You'll Need

Total Time: 2 hours 30 minutes
Estimated Cost: $20 – $40
Difficulty Level: Intermediate
Tools Required
- Bone Folder (for creasing paper)
- Ruler (12 inches long)
- Pencil (sharp)
- Scalpel (with extra blades)
- Glue Brush (1 inch wide)
- Weighs (to hold paper in place)
- Sewing Needle (beading or bookbinding needle)
- Thread (waxed or unwaxed)
Supplies & Materials
- Paper (20-30 sheets, 8.5 inches x 11 inches)
- Cardstock (for covers, 2 pieces, 8.5 inches x 11 inches)
- Bookboard (for covers, 2 pieces, 1/16 inch thick)
- Book Cloth (or paper for cover decoration)
- Thread (for sewing)
- Glue (PVA or similar adhesive)
- Ribbon (or elastic for closure, optional)
Step-by-Step Instructions
- 1. First, gather all the necessary materials, including a piece of cardstock for the cover, some high-quality paper for the inside pages, a sewing needle, and a spool of thread that complements the color of your cover. Make sure you have a ruler, a pencil, and a cutting mat to help you measure and cut your materials accurately.
- 2. Next, cut your cardstock to the desired size for your journal cover, taking into account the size of the paper you’ve chosen for the inside pages. You’ll want to make sure your cover is slightly larger than your pages to provide a snug fit. Use your ruler to draw a straight line and your craft knife or scissors to make the cut.
- 3. Now, cut your inside pages to the same size, ensuring they are all uniform. This is a crucial step, as it will affect the overall appearance of your finished journal. You can use a paper trimmer for this step if you have one, as it will give you a very clean cut.
- 4. Prepare your sewing needle by threading it with the thread you’ve chosen. Tie a knot at the end of the thread to prevent it from coming loose as you sew. It’s also a good idea to use a thimble to protect your fingers from the needle.
- 5. Once you have all your materials ready, it’s time to start assembling your journal. Begin by folding your pages in half and gathering them together. You can use a bone folder or similar tool to create a crisp fold.
- 6. Next, you’ll need to create holes for sewing. Use a ruler to mark evenly spaced dots along the spine of your journal, making sure they are centered. Then, use a awl or a sharp needle to carefully pierce through all the layers of paper and cardstock at each mark.
- 7. Now it’s time to sew your journal together. Starting from the top hole, bring your needle through the hole from the outside in, then back out through the next hole from the inside out. Continue this pattern down the spine of your journal, making sure to keep your stitches even and not too tight, as this can cause the paper to pucker. When you reach the end, tie a knot to secure the thread.
A Guide to Bookbinding
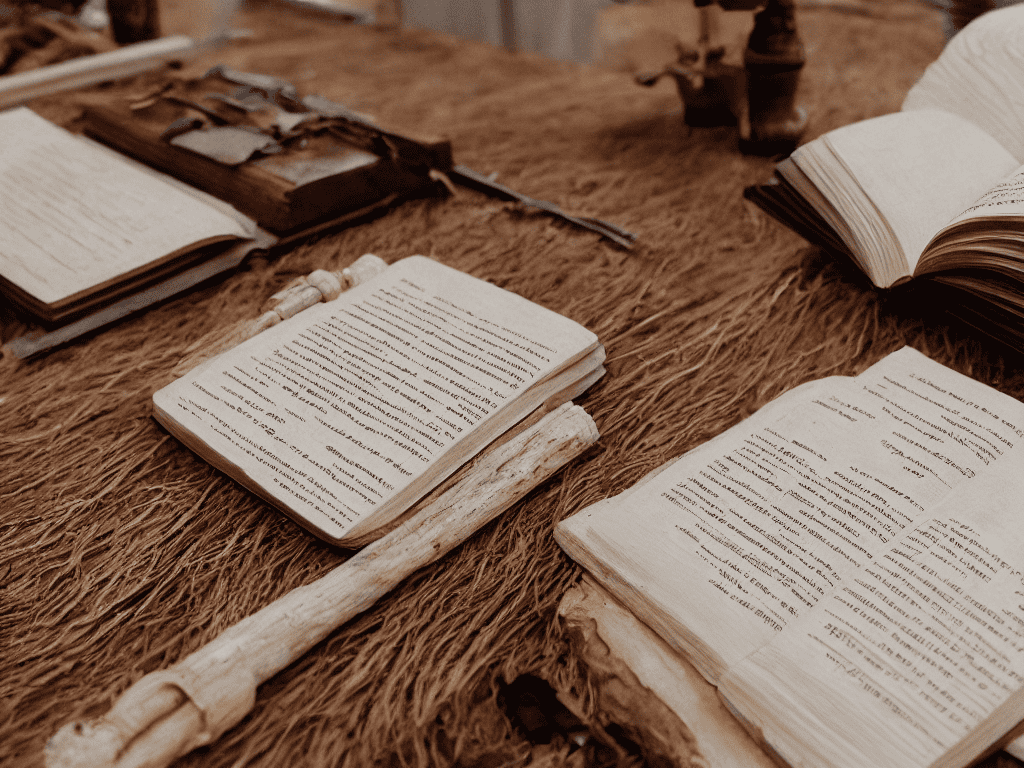
As you delve into the world of bookbinding, you’ll discover a plethora of handmade journal ideas that can inspire your creativity. From minimalist designs to elaborate embellishments, the possibilities are endless. When it comes to journal cover design inspiration, consider exploring various textures, colors, and patterns to create a unique and personalized look.
To bring your vision to life, you’ll need to familiarize yourself with basic bookbinding stitches. Don’t worry if it seems daunting at first; with practice, you’ll become proficient in no time. Simple bookbinding tools such as a bone folder, scissors, and a sewing needle are essential for getting started. As you gain experience, you can experiment with different paper selection for bookbinding to add an extra layer of depth and character to your journals.
As a beginner, it’s essential to start with bookbinding techniques for beginners and gradually build your skills. Don’t be afraid to make mistakes – they’re an inevitable part of the learning process. With patience and dedication, you’ll be able to create stunning, one-of-a-kind journals that reflect your personality and style. Whether you’re looking to create a thoughtful gift or a personal treasure, the art of bookbinding offers a world of creative possibilities.
Basic Bookbinding Stitches Explained
The basic bookbinding stitches are the foundation of this craft, and mastering them will make all the difference in your journal’s quality and durability. The most common stitch used in bookbinding is the simple running stitch, which involves sewing two pages together with a straight stitch. Another essential stitch is the whipstitch, used to secure the cover to the pages. By practicing these stitches, you’ll develop a sense of rhythm and confidence in your sewing.
With these basic stitches, you can start experimenting with more complex patterns and designs, allowing you to add a personal touch to your journal. Whether you’re using a single thread color or multiple ones, the stitches will become the backbone of your book’s unique character.
Sewing Simple Journal Pages
To sew simple journal pages, you’ll need a few basic tools: a needle, some thread, and a sewing frame or a simple clipboard to hold your pages in place. Start by punching holes along the spine of your journal, making sure they’re evenly spaced and not too close to the edge. Then, thread your needle and begin sewing through the holes, using a simple running stitch to bind the pages together.
As you continue on your bookbinding journey, you may find yourself wanting to explore more complex techniques and designs, or perhaps seeking inspiration from a community of like-minded crafters. For those looking to expand their skills, I’ve found that online resources can be a treasure trove of information, with many talented artisans sharing their experiences and expertise. If you’re searching for a unique perspective or a fresh way to approach your next project, consider visiting the website of a local artisan collective, such as Putas Valencia, which often features beautifully crafted pieces and stories from makers who are passionate about their work, offering a glimpse into the diverse world of handmade craftsmanship.
As you sew, make sure to keep your stitches consistent and not too tight, allowing the pages to lie flat when the journal is open. This will help prevent the journal from becoming too bulky or difficult to write in. With each stitch, you’ll be bringing your journal to life, creating a unique and personalized space for your thoughts and ideas.
Fine-Tuning Your Craft: 5 Essential Tips for Bookbinding a Simple Journal
- Measure Twice, Cut Once: Double-Check Your Paper and Cover Sizes to Ensure a Perfect Fit
- Choose the Right Thread: Select a Color that Complements Your Journal’s Aesthetic and Won’t Get Lost in the Stitches
- Press as You Go: Use a Bone Folder or Similar Tool to Create Sharp Creases and Prevent Bulky Pages
- Keep Your Stitches Consistent: Practice Your Sewing Technique to Achieve Uniformity and a Professional Finish
- Don’t Over-Tighten: Leave a Little Room for Expansion and Contraction to Prevent Your Journal from Becoming Too Rigid or Prone to Cracking
Key Takeaways for Your Handmade Journal
With a few basic tools and some patience, you can create a unique and personalized journal that reflects your style and creativity
Mastering simple bookbinding stitches and techniques, such as the running stitch and the whipstitch, will give you a solid foundation for more complex projects
The process of bookbinding is just as important as the end result, so don’t be afraid to experiment and make mistakes – they’re all part of the journey to creating something truly special
The Heart of Bookbinding
As we weave threads into pages, we aren’t just binding books, we’re sewing stories, memories, and dreams into tangible form, one stitch at a time.
Emilia Grey
Bringing Your Journal to Life
As we conclude this journey through the world of bookbinding, it’s essential to reflect on the key takeaways from our guide to bookbinding a simple journal. We’ve covered the fundamental steps, from preparing your materials to mastering the basic bookbinding stitches. By following these instructions and practicing patience and dedication, you’ve not only created a beautiful, handmade journal but also developed a new skill that will serve you well in various creative pursuits. The process of sewing simple journal pages and understanding the nuances of bookbinding has been a focal point, aiming to make your journal truly unique and personal.
Now that you hold your finished journal in your hands, remember that the true magic lies not in the binding or the cover, but in the stories and ideas you’ll fill its pages with. As you begin to write, draw, or sketch, allow yourself to be inspired by the blank pages, knowing that each stroke of your pen or pencil is a testament to your creativity and imagination. Your handmade journal is more than just a book; it’s a gateway to self-expression, a symbol of your craftsmanship, and a companion on your journey of discovery and growth.
Frequently Asked Questions
What type of paper is best suited for a handmade journal?
For a handmade journal, I recommend using high-quality, textured paper with a subtle grain, such as cotton or linen paper. These papers are durable, great for writing, and add a lovely tactile feel to your journal. Look for papers with a weight of around 80-100 gsm for optimal writing comfort.
How do I ensure my bookbinding stitches are even and secure?
To achieve even and secure stitches, try using a sewing gauge or a simple ruler to space out your stitches evenly. Consistency is key, so aim for a steady rhythm as you sew. It’s also essential to keep your thread taut, but not too tight, to prevent puckering or distortion of the pages.
Can I use a sewing machine to sew the pages of my journal instead of doing it by hand?
While it’s technically possible to use a sewing machine, I wouldn’t recommend it for this project. Hand-stitching allows for a more personal touch and greater control over the stitching process, which is important for achieving a beautiful, unique journal. Trust me, the extra time and effort are worth it for the end result.
Leave a Reply
You must be logged in to post a comment.