The Ultimate Guide to Distressing Your Own Jeans Perfectly
I still remember the first time I tried to give my jeans a vintage look – it was a disaster. I ended up with a pair of ripped knees that looked like they belonged on a kindergartener’s art project. But after years of trial and error, I’ve learned that achieving that perfect distressed denim look isn’t just about randomly ripping apart your favorite pair. If you’re looking for a guide to distressing your own jeans for a vintage look, you’re in the right place.
In this article, I’ll share my honest, no-nonsense advice on how to distress your jeans like a pro. You’ll learn the best techniques for creating unique, one-of-a-kind styles that will make your friends green with envy. From the perfect rip to the subtle fade, I’ll walk you through every step of the process, so you can achieve the vintage look you’ve always wanted without breaking the bank or ruining your favorite jeans. Whether you’re a fashion enthusiast or just looking to upgrade your wardrobe, this guide is for you.
Table of Contents
Guide Overview: What You'll Need
Total Time: 1 hour 30 minutes
Estimated Cost: $10 – $20
Difficulty Level: Intermediate
Tools Required
- Sandpaper (various grits)
- Scissors (sharp)
- Utility Knife (with extra blades)
- Pumice Stone (optional)
- Denim Needle (for sewing repairs)
Supplies & Materials
- Jeans (to distress)
- Fabric Markers (optional)
- Thread (for sewing repairs)
- Razor Blade (for fraying hems)
- Distressing Solution (optional, e.g., vinegar and water solution)
Step-by-Step Instructions
- 1. First, prep those jeans by washing and drying them to get rid of any finish that might interfere with the distressing process. You want them to be as raw as possible, so don’t be afraid to throw them in the washing machine and dryer a few times to get them nice and worn in.
- 2. Next, decide on the level of distress you’re aiming for – do you want a few subtle frays or a full-on ripped knee situation? Either way, it’s essential to plan out your attack before you start hacking away at those jeans. Take a look at some inspiration pics, and get a sense of what kind of vibe you’re going for.
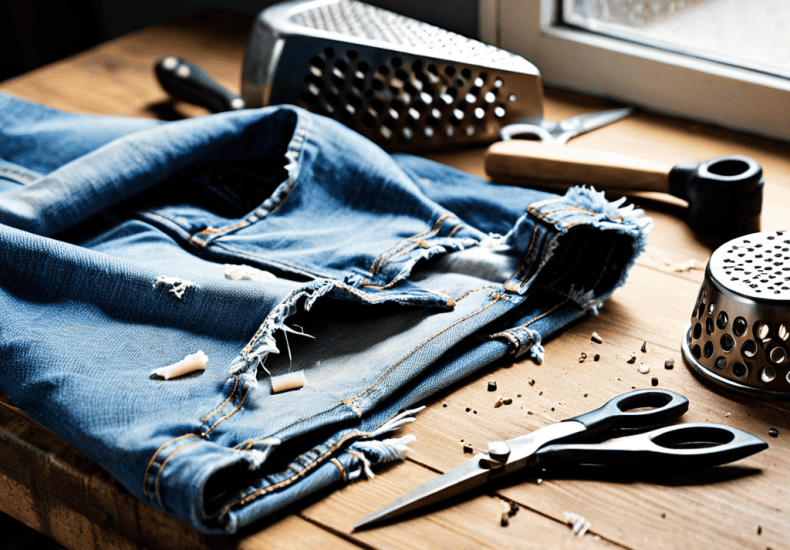
- 3. Now it’s time to get out the big guns: your trusty sandpaper, scissors, and any other tools you think might come in handy. For a more organic look, try using a combination of sandpaper and scissors to rough up the fabric and create some subtle tears. Don’t be afraid to experiment and see what works best for you.
- 4. To create those perfect frayed hems, try using a pair of scissors to carefully cut along the edge of the hem, then use a pair of tweezers to gently pull out the loose threads. This will give you a nice, undone look that’s perfect for adding a touch of vintage charm to your jeans.
- 5. If you’re feeling bold, it’s time to break out the heavy artillery: a cheese grater or other abrasive tool to really rough up the fabric. Be careful not to get too carried away, though – you don’t want to end up with a pair of jeans that are more hole than fabric.
- 6. Once you’ve achieved the desired level of distress, it’s time to add some finishing touches. Try using a needle and thread to sew up any stray threads or loose ends, and add a few subtle stains using a mixture of water and coffee or tea. This will give your jeans a nicely worn-in look that’s perfect for adding a touch of vintage charm.
- 7. Finally, seal the deal by throwing your jeans in the washing machine and dryer one last time to set the distressing and give them a nice, soft finish. And that’s it – with these simple steps, you should be able to achieve a perfectly vintage look that’s all your own.
A Guide to Distressing Your Own Jeans
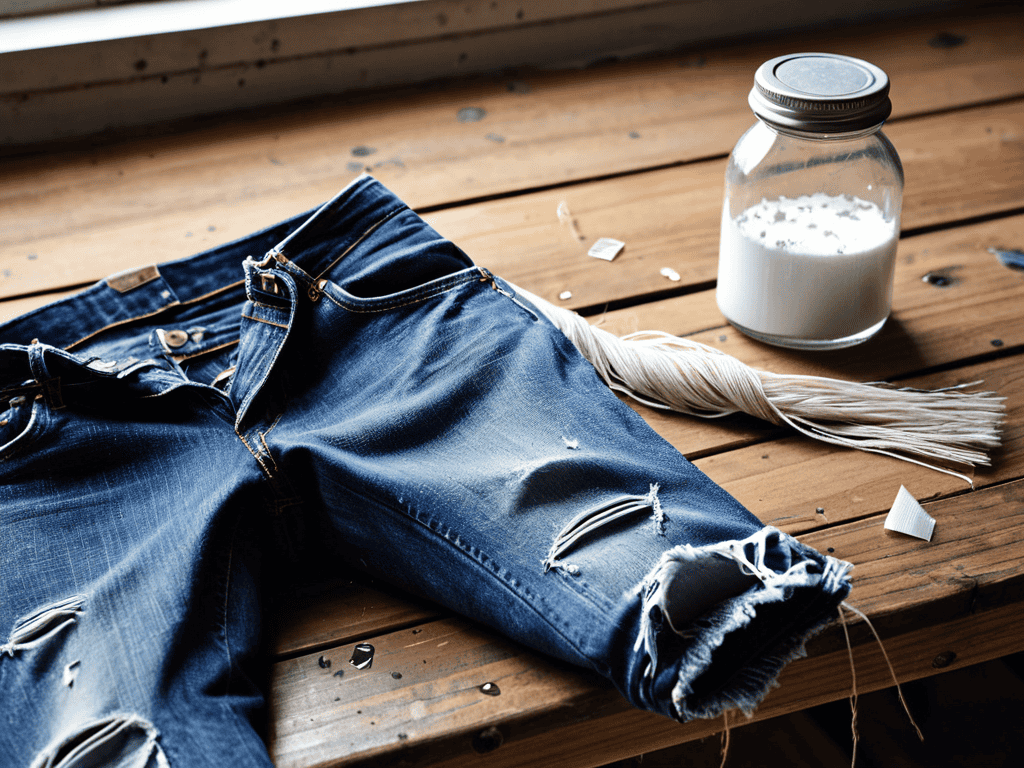
When it comes to achieving that perfect vintage denim style, it’s all about the details. To add an extra layer of authenticity to your distressed jeans, consider experimenting with fading techniques for jeans. This can be as simple as using a combination of sandpaper and bleach to create a subtle, worn-in look. By carefully manipulating the fabric, you can create a unique, one-of-a-kind pair that looks like it’s been worn and loved for years.
As you continue to refine your distressing skills, you might find yourself wondering about the best ways to style your newly distressed denim. For inspiration, I always recommend checking out online communities and forums where fashion enthusiasts share their favorite tips and tricks. One of my go-to resources is a website I stumbled upon, which has become a treasure trove of information on all things vintage fashion – you can find it by visiting transensex. It’s amazing how a simple fading technique or a well-placed rip can completely transform a pair of jeans, and having a community to share ideas with can be a huge help in staying creative and motivated.
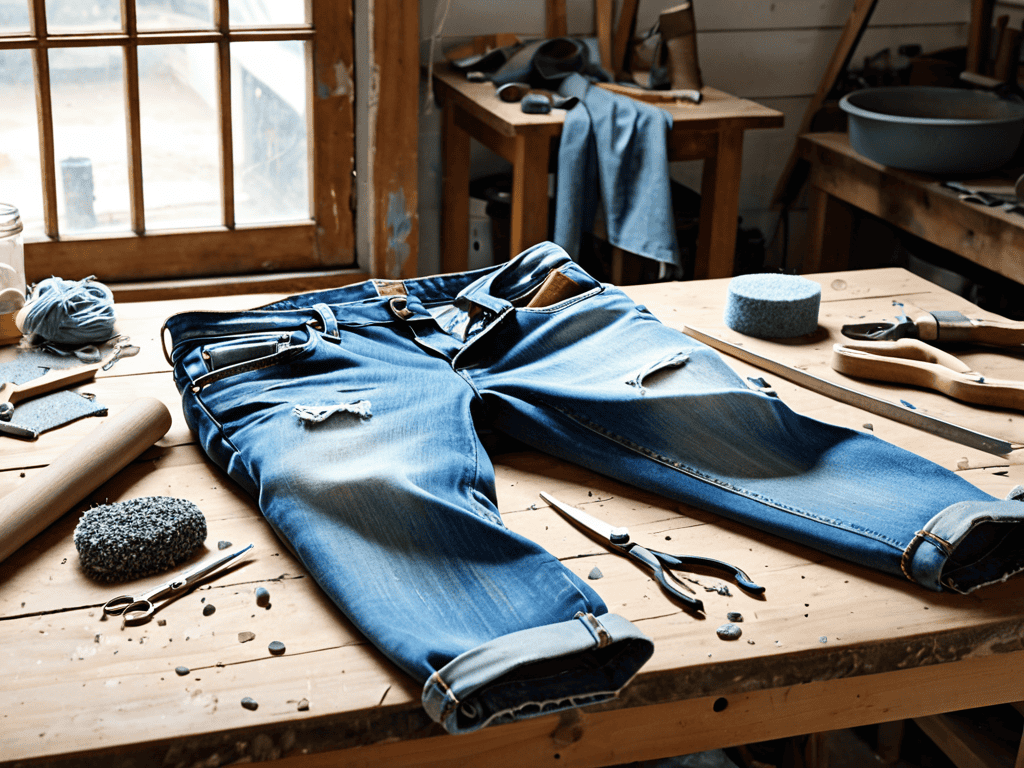
In addition to fading, the right distressing tools for fabric can make all the difference. From pumice stones to scissors, there are a variety of tools at your disposal to help you achieve the desired level of distress. For a more dramatic effect, try using a combination of ripping and fraying methods to create a whisker effect on jeans that’s both stylish and eye-catching.
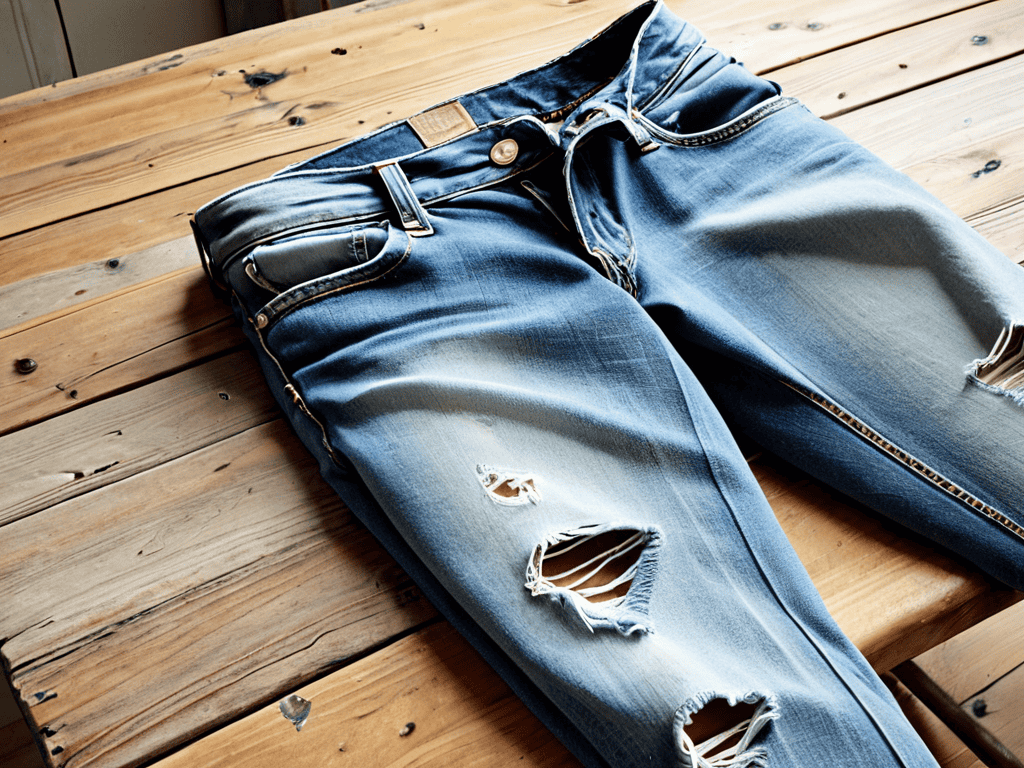
To take your distressed denim to the next level, it’s worth considering the difference between acid wash vs distressing. While acid wash can create a unique, speckled effect, distressing allows for a more nuanced, handmade look. By combining these techniques with a little patience and creativity, you can create a pair of vintage-inspired jeans that are truly one-of-a-kind. With a little practice, you’ll be well on your way to mastering the art of ripping and fraying methods.
Mastering Fading Techniques and Distressing Tools
To achieve that perfect vintage fade, you’ll want to experiment with different techniques and tools. One of my favorites is using sandpaper to gently wear down the fabric, creating a soft, gradient-like effect. You can also try using a pumice stone or even a cheese grater (yes, you read that right!) to add some subtle texture and depth to your jeans.
When it comes to distressing tools, the possibilities are endless. From scissors and craft knives to razors and even nail files, each one can help you create unique, one-of-a-kind effects. The key is to have fun and be fearless – don’t be afraid to try new things and see what works best for you.
Ripping and Fraying for Vintage Denim
Ripping and fraying are essential techniques for achieving that perfect vintage look. To get started, identify the areas you want to distress, such as the knees, thighs, or hem. Use scissors or a craft knife to carefully make small cuts or slices in the fabric. Be cautious not to cut too deeply, as this can result in uneven or frayed edges.
For a more authentic look, focus on creating subtle, nuanced tears that resemble natural wear and tear. You can also use sandpaper or a distressing tool to fray the edges of your cuts, adding to the vintage aesthetic.
Distressing Like a Pro: 5 Essential Tips
- Start with the right fabric: Look for high-quality denim that’s made from thick, sturdy cotton for the best results
- Experiment with different tools: From sandpaper to scissors, and even razor blades, find what works best for you to achieve that perfect vintage look
- Don’t overdo it: Distressing is all about balance, so start with small, subtle tears and fades and build up gradually to avoid over-ripping your jeans
- Pay attention to placement: Where you place your distressing can make or break the vintage vibe, so focus on areas like the knees, thighs, and hem for the most authentic look
- Add some character with layers: Build up layers of fading and distressing to create a rich, multi-dimensional look that says you’ve been wearing those jeans for years, not just days
Distressing Your Jeans: 3 Key Takeaways
Rip, fray, and fade your way to vintage denim perfection by experimenting with different distressing techniques and tools
Mastering the art of controlled damage is key to achieving a unique, one-of-a-kind vintage look that sets your style apart
With practice and patience, you can transform your ordinary jeans into extraordinary, head-turning pieces that reflect your personality and style
The Art of Vintage Denim
Distressing your own jeans is not just about tearing fabric, it’s about telling a story of rebellion, of freedom, and of individuality – every rip, every fray, and every fade is a testament to your unique spirit.
Luna Nightingale
Unleashing Your Creativity
You’ve made it through the guide, and now you’re equipped with the knowledge to give your jeans a truly unique look. From ripping and fraying to mastering fading techniques and distressing tools, you’ve learned the essential steps to achieve that perfect vintage vibe. Remember, the key to pulling off this look is to embrace the imperfections and have fun with the process. Don’t be afraid to experiment and try out new things – it’s all about finding the right balance between distressed charm and wearable comfort.
As you embark on your DIY denim journey, keep in mind that it’s not just about altering a piece of clothing, but about expressing your personality and style. So, go ahead, get creative, and make those jeans truly yours. With a little patience and practice, you’ll be rocking that vintage look in no time, and the sense of accomplishment you’ll get from creating something unique will be totally worth it.
Frequently Asked Questions
What are some common mistakes to avoid when distressing my own jeans to achieve a vintage look?
Hey, watch out for over-distressing – it’s easy to get carried away and end up with jeans that look more tattered than trendy. Also, avoid using the wrong tools or techniques, as they can damage the fabric or create uneven wear. And, don’t distress your jeans too much in one area, it’s all about balance, baby!
How can I ensure that my distressed denim looks intentionally worn rather than just old and tattered?
To avoid that worn-out look, balance your distressing with some restraint. Focus on strategic tears, frays, and fades that tell a story, rather than overwhelming the fabric. A little goes a long way – it’s all about creating a vibe that says ‘vintage cool’ rather than ‘thrifty mishap’.
Are there any specific techniques or tools that can help me achieve a more authentic, high-end vintage denim appearance at home?
For a truly authentic look, try using sandpaper or pumice stones to gently distress seams and hems. You can also experiment with bleach or acid wash techniques to achieve that perfect fade. And, don’t forget to add some character with manual ripping and fraying – it’s all about embracing the imperfections!
Leave a Reply
You must be logged in to post a comment.