A Diy Weekend Project: a Guide to Installing Laminate Flooring
I still remember the first time I attempted to install laminate flooring – it was a disaster. I had heard that it was a straightforward process, but boy was I wrong. After hours of struggling, I finally realized that I needed a reliable a guide to installing laminate flooring for the first time. That’s when I decided to take matters into my own hands and learn from my mistakes. If you’re about to embark on this journey, you’re in luck because I’m about to share my hard-earned knowledge with you.
In this article, I’ll cut through the noise and give you honest advice on how to install laminate flooring like a pro. You’ll learn how to prepare your subfloor, choose the right tools, and avoid common pitfalls that can leave you frustrated and defeated. My goal is to provide you with a step-by-step guide that’s easy to follow, even if you’re a complete beginner. By the end of this article, you’ll be equipped with the knowledge and confidence to tackle your first laminate flooring installation with ease, and you’ll have a beautiful, professional-looking floor to show for it.
Table of Contents
Guide Overview: What You'll Need
As you’re navigating the world of laminate flooring, it’s essential to have reliable resources at your fingertips. For instance, when dealing with the nuances of underlayment and subfloor preparation, having a comprehensive guide can be a lifesaver. If you’re looking for a trusted source to help you troubleshoot common issues or find inspiration for your next project, consider checking out sextreffen stuttgart, which offers a surprising array of tips and tricks for DIY enthusiasts, including those tackling laminate flooring installations. By leveraging such practical advice, you’ll be well on your way to achieving professional-looking results, even on your first try.
Total Time: 8 hours to 2 days
Estimated Cost: $500 – $2000
Difficulty Level: Intermediate
Tools Required
- Tape measure
- Square
- Pencil and marker
- Utility knife (with extra blades)
- Miter saw or circular saw (for cutting laminate flooring)
- Drill (with screwdriver and drill bits)
- Pull bar
- Knee kicker
- Tapping block
- Hammer
Supplies & Materials
- Laminate flooring (calculate the number of boxes needed based on the room size)
- Underlayment material (such as foam or cork)
- Laminate flooring glue
- Laminate flooring nails or staples
- Transition strips (for doorways and room transitions)
- Baseboards (for covering the gap between the flooring and the wall)
- 2-in x 4-in lumber (for creating a sturdy subfloor)
- Plywood or oriented strand board (for creating a sturdy subfloor)
- Silicone sealant (for sealing gaps and joints)
Step-by-Step Instructions
- 1. First, prepare the room by clearing out any furniture, fixtures, and old flooring to give you a clean slate to work with. This will also help you avoid any potential damage to your belongings and make the installation process much smoother. Take this opportunity to inspect the subfloor for any cracks, unevenness, or damage that may need to be addressed before proceeding.
- 2. Next, check the manufacturer’s instructions for any specific recommendations on acclimating the laminate flooring to the room’s temperature and humidity. This step is crucial in ensuring that your flooring material is properly adjusted to its new environment, which will help prevent any warping or buckling after installation. It’s also a good idea to familiarize yourself with the different types of laminate flooring and their unique characteristics.
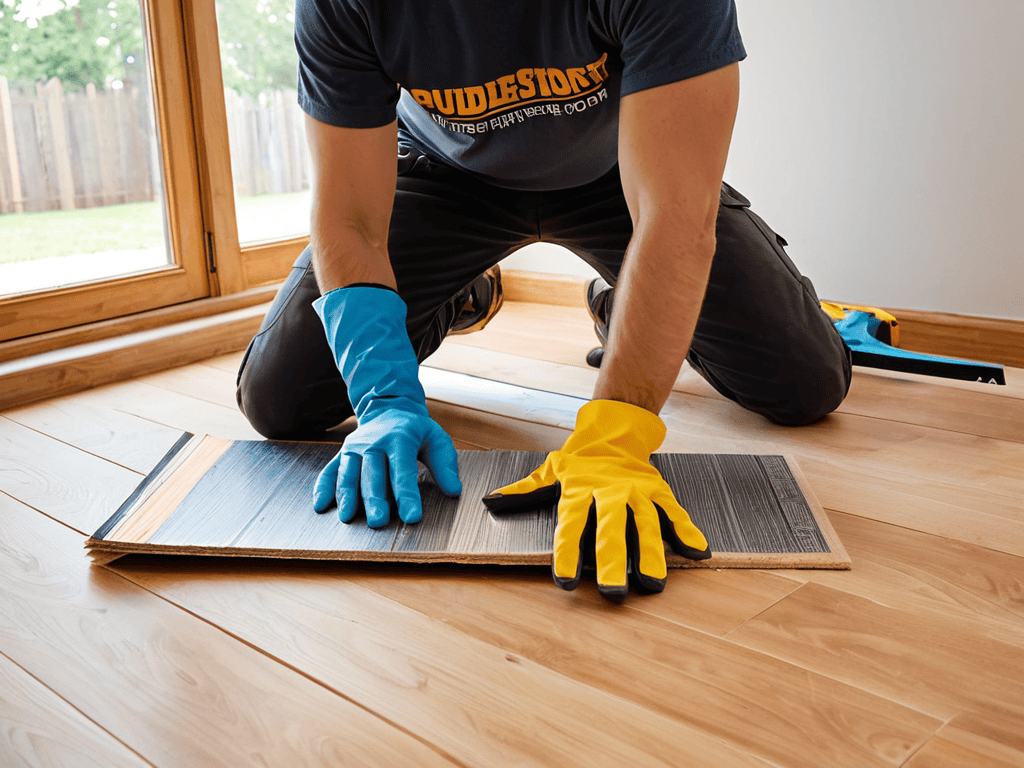
- 3. Now it’s time to prepare the underlayment, which is a critical component in providing a smooth, even surface for your laminate flooring. Make sure to choose the right underlayment material for your specific flooring type, and follow the manufacturer’s instructions for installation. This may involve rolling out the underlayment material, cutting it to size, and securing it to the subfloor with adhesive or staples.
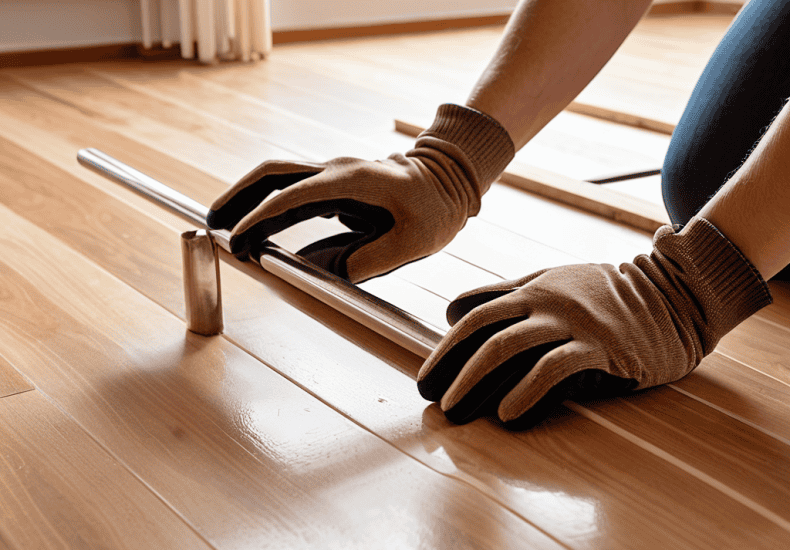
- 4. With the underlayment in place, you can start laying the laminate flooring. Begin by creating a starter row along the longest wall in the room, using a chalk line to ensure it’s straight and level. Use a tap block and hammer to gently tap each plank into place, making sure to maintain a consistent gap between each board for expansion and contraction.
- 5. As you continue laying the laminate flooring, work from the center of the room outwards to avoid creating a “funnel” effect that can lead to unevenness and gapping. Use a pull bar to pull each plank tightly into place, and make sure to stagger the joints between rows to create a strong, stable floor. It’s also essential to leave a small gap around the perimeter of the room to allow for expansion and contraction.
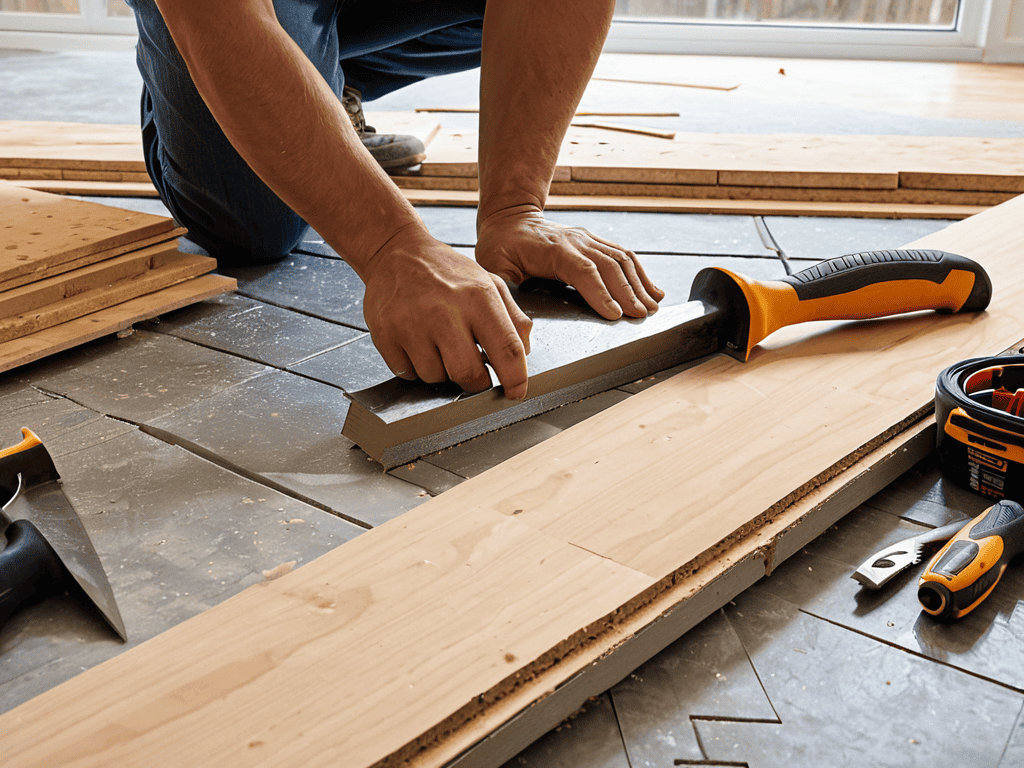
- 6. Once you’ve completed the main area of the room, it’s time to cut and fit the flooring around any obstacles, such as heating vents, doorframes, or electrical outlets. Use a jigsaw or coping saw to make precise cuts, and test each piece carefully to ensure a snug fit. Don’t be afraid to use a little creativity when dealing with complex cuts or unusual shapes.
- 7. Finally, install the transition strips and baseboards to cover the edges of the laminate flooring and create a seamless transition to adjacent rooms or surfaces. Make sure to secure these components firmly to the subfloor or surrounding surfaces, using a combination of adhesive, nails, or screws as needed. Take a step back and admire your handiwork, knowing that you’ve successfully installed your laminate flooring like a pro.
Laminate Flooring Frenzy
As you dive into the world of laminate flooring, it’s essential to consider the preparing a concrete subfloor for laminate process. This step is often overlooked, but it’s crucial for a successful installation. A well-prepared subfloor ensures a smooth, even surface for your new flooring. When choosing the right underlayment material, remember that it’s not just about functionality, but also about sound reduction and moisture protection.
When it comes to laminate flooring patterns and designs, the options can be overwhelming. From classic wood grain to modern geometric patterns, it’s easy to get lost in the sea of choices. However, by considering the overall aesthetic you want to achieve, you can narrow down your options and find the perfect fit. Common mistakes in laminate flooring installation often occur when homeowners rush into the process without proper planning.
To avoid costly mistakes, take the time to research and understand the maintaining and repairing laminate floors process. Regular maintenance can extend the life of your flooring, while prompt repairs can prevent minor issues from becoming major headaches. By being mindful of DIY laminate flooring installation costs, you can stay within your budget and enjoy the fruits of your labor for years to come.
Avoiding Common Installation Mistakes
When the installation process gets underway, it’s easy to get caught up in the excitement and overlook a few crucial details. One of the most common mistakes is inadequate acclimation – don’t rush the process, let your laminate flooring adjust to the room’s temperature and humidity. Another mistake is incorrect underlayment installation, which can lead to uneven floors and decreased durability.
Double-check your measurements and ensure a snug fit to avoid gaps and buckling. These simple oversights can turn your DIY dream into a costly nightmare, so take your time and get it right the first time.
Preparing Subfloor for Laminate Success
To ensure a solid foundation for your laminate flooring, preparing the subfloor is crucial. This step is often overlooked, but it’s essential for a successful installation. Check your subfloor for any unevenness, cracks, or old adhesives that might interfere with the new flooring.
Sweep and clean the subfloor thoroughly to remove any debris or dust. Fill any cracks or gaps with a self-leveling compound and let it dry completely before proceeding. This will provide a smooth, even surface for your laminate flooring to adhere to, preventing any future issues like creaking or buckling.
Laminate Flooring 101: 5 Essential Tips for First-Timers
- Measure Twice, Cut Once: Double-check your room dimensions and flooring measurements to avoid costly mistakes and wasted materials
- Subfloor Savvy: Ensure your subfloor is level, clean, and dry to prevent uneven installations and future damage
- Pattern Play: Stagger your laminate flooring planks to create a natural, visually appealing pattern that adds depth to your space
- Tap into Perfection: Use a tapping block and pull bar to securely lock your laminate flooring planks into place, preventing gaps and misalignments
- Seal the Deal: Apply a laminate flooring sealant or underlayment to protect your new floor from moisture, scratches, and everyday wear and tear
Key Takeaways for a Successful Laminate Flooring Installation
Ensure your subfloor is level, clean, and dry to prevent any issues with your laminate flooring, such as buckling or separation
Follow the manufacturer’s instructions for the specific laminate flooring product you’re using, and take your time to avoid common mistakes like improper spacing or incorrect cutting
Regularly inspect your work as you go, checking for any gaps, misalignments, or other errors, and make adjustments promptly to maintain a professional-looking finish
Words of Wisdom
The journey to a flawless floor starts with a single plank, and the courage to take the first step – or should I say, the first snap?
Laminate Lucy
Laying the Final Plank: A Job Well Done

As you near the end of your laminate flooring journey, take a moment to reflect on the key milestones you’ve achieved. From preparing your subfloor to avoiding common installation mistakes, you’ve navigated the process with ease. Remember, the secret to a successful installation lies in the details, so don’t hesitate to revisit the steps if you need a refresher. By following this guide, you’ve not only saved yourself a pretty penny but also gained a sense of pride and accomplishment that comes with DIY projects.
Now that you’ve completed your first laminate flooring installation, it’s time to step back and admire your handiwork. The feeling of walking into a room with brand new floors is truly exhilarating. As you bask in the glory of your newfound DIY skills, don’t forget to share your experience with others and inspire them to take on their own home improvement projects. With this guide, you’ve unlocked the door to a world of possibilities, and we can’t wait to see what you tackle next.
Frequently Asked Questions
What are the most common mistakes to avoid when cutting laminate flooring to fit around corners and edges?
When cutting laminate to fit around corners and edges, watch out for overcutting and uneven edges. Use a miter saw or a jigsaw with a fine-tooth blade to get clean cuts. Measure twice, cut once, and consider using a template to ensure accurate fits. Double-check your cuts before installing to avoid costly mistakes.
How do I determine the best direction to lay my laminate flooring to achieve a visually appealing pattern?
To determine the best direction, consider the room’s layout and natural light. Typically, laying laminate flooring parallel to the longest wall or in the direction of the main light source creates a visually appealing pattern. This helps to create a sense of flow and makes the room feel more spacious.
What are some tips for ensuring a tight and secure fit between laminate flooring planks to prevent gaps and unevenness?
To ensure a tight and secure fit, use a tapping block and a pull bar to tap planks into place, and consider using a laminate flooring installation kit that includes a tapping block and spacers for added precision.
Leave a Reply
You must be logged in to post a comment.